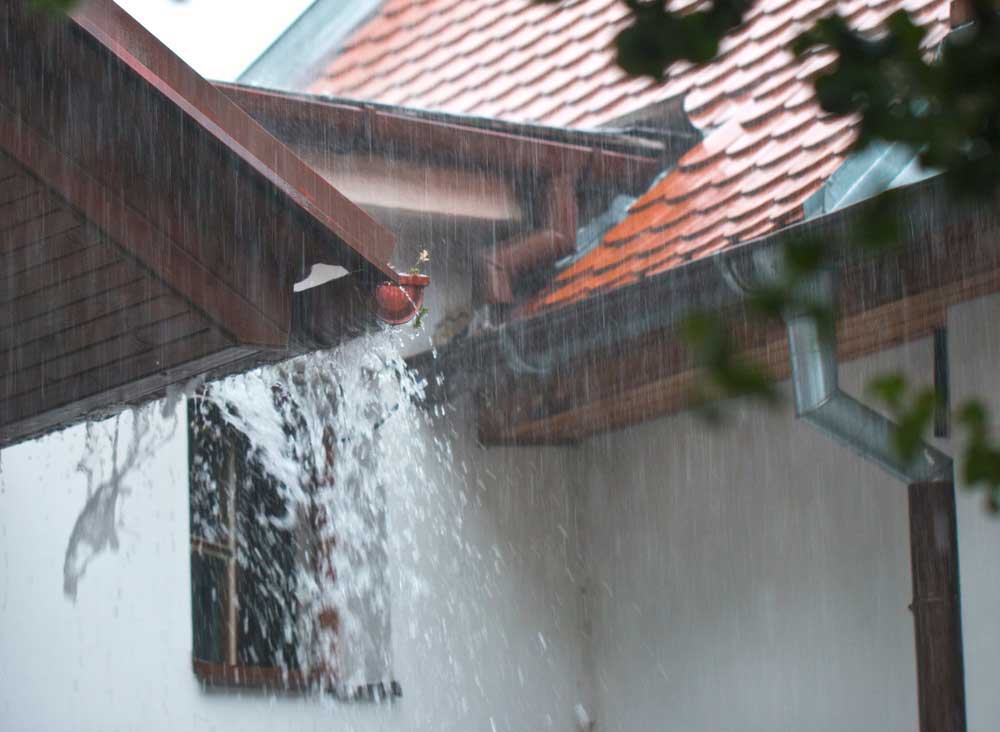
Severe stormy weather can leave you with an exposed roof and a major problem on your hands. Whether caused by hail, wind or rain, roof storm damage has to be dealt with as soon as possible to limit water damage and maintain home security.
What should you do if you have an exposed roof after a major storm?
Secure Interior Leaks First
If your roof has been damaged to the point where shingles and flashing are missing, or if there’s a hole in the roof decking, there’s bound to be an active water leak inside your home. Go up to the attic, find the penetration point and do what you can to limit the spread of water by setting up buckets and emptying them periodically.
Once you have the leak somewhat contained, you can work on stopping it at the source.
Your Safety Is the Main Priority
It’s not safe to climb on your home’s roof under the best conditions, never mind right after a storm when the shingles are wet and the roof is damaged and unstable.
Before you attempt to cover an exposed roof, call an emergency roofing contractor. If they can provide service quickly, it’s best that you leave the project to an experienced team with the right equipment and training to stay safe.
However, if a roofing contractor won’t be able to make it to your property before another storm hits, you may have to take action yourself. Never stand directly on a roof with a steep pitch. Also, don’t stand on a tarp — they’re slippery when wet or dry. Don’t try to make roof repairs in the middle of a storm. And don’t go it alone — you need a partner to help you safely complete the process of covering an exposed roof.
What You Need
If you have an exposed roof, you can use a tarp to temporarily protect it while you wait for professionals. Keep in mind that this is only an emergency measure designed to limit roof damage from fast-approaching storms if you can’t get permanent repairs in time.
You will need a woven plastic tarp that is large enough to cover the area of exposed roof, plus an extra 3 feet on each side. You will also need multiple two-by-fours and a selection of screws to securely attach the materials.
The Tarp Installation Process
Roll the end of the tarp around a two-by-four and screw it tightly to the wood. Attach this wood length to the top of the roof above the exposed portion. Roll the rest of the tarp over the exposed part until it reaches a few feet past the damaged area. Roll the end around another two-by-four, then screw the wood into place on the roof, roll-side down.
You can use extra two-by-fours to secure the sides of the tarp if necessary.
Depend on a Roofer Who’s There in an Emergency
Avoid this problem by finding an area roofer who is ready and able to respond in an emergency. You won’t need to worry about climbing onto your exposed roof if you have a reliable team on call. Don’t panic — just call the Roof Doctor. We are here for you 24 hours a day, seven days a week.

